Adding an Event Instructions
Step 1: Navigate to Events: On your Dashboard, click the “Events” tab.
Step 2: Add New Event: Click the “Add Event” button (located in the center of the screen). Note: Events can have three statuses: Open (parents can book), Inactive (not yet available for booking), and Closed (event time has passed).
Step 3: Choose Event Type: Select the desired event type from the templates on the left.
Step 4: Name and Create: Enter a name for your event and click “Create.”
Step 5: You will be prompted to Create the event.
Step 6: Event Details & Sharing: Your event is now created! You’ll see details to share with parents, including a QR code, URL link, and booking code.
Step 7: Activate Your Event: To make the event bookable for parents, toggle the switch in the upper right-hand corner to “On.”
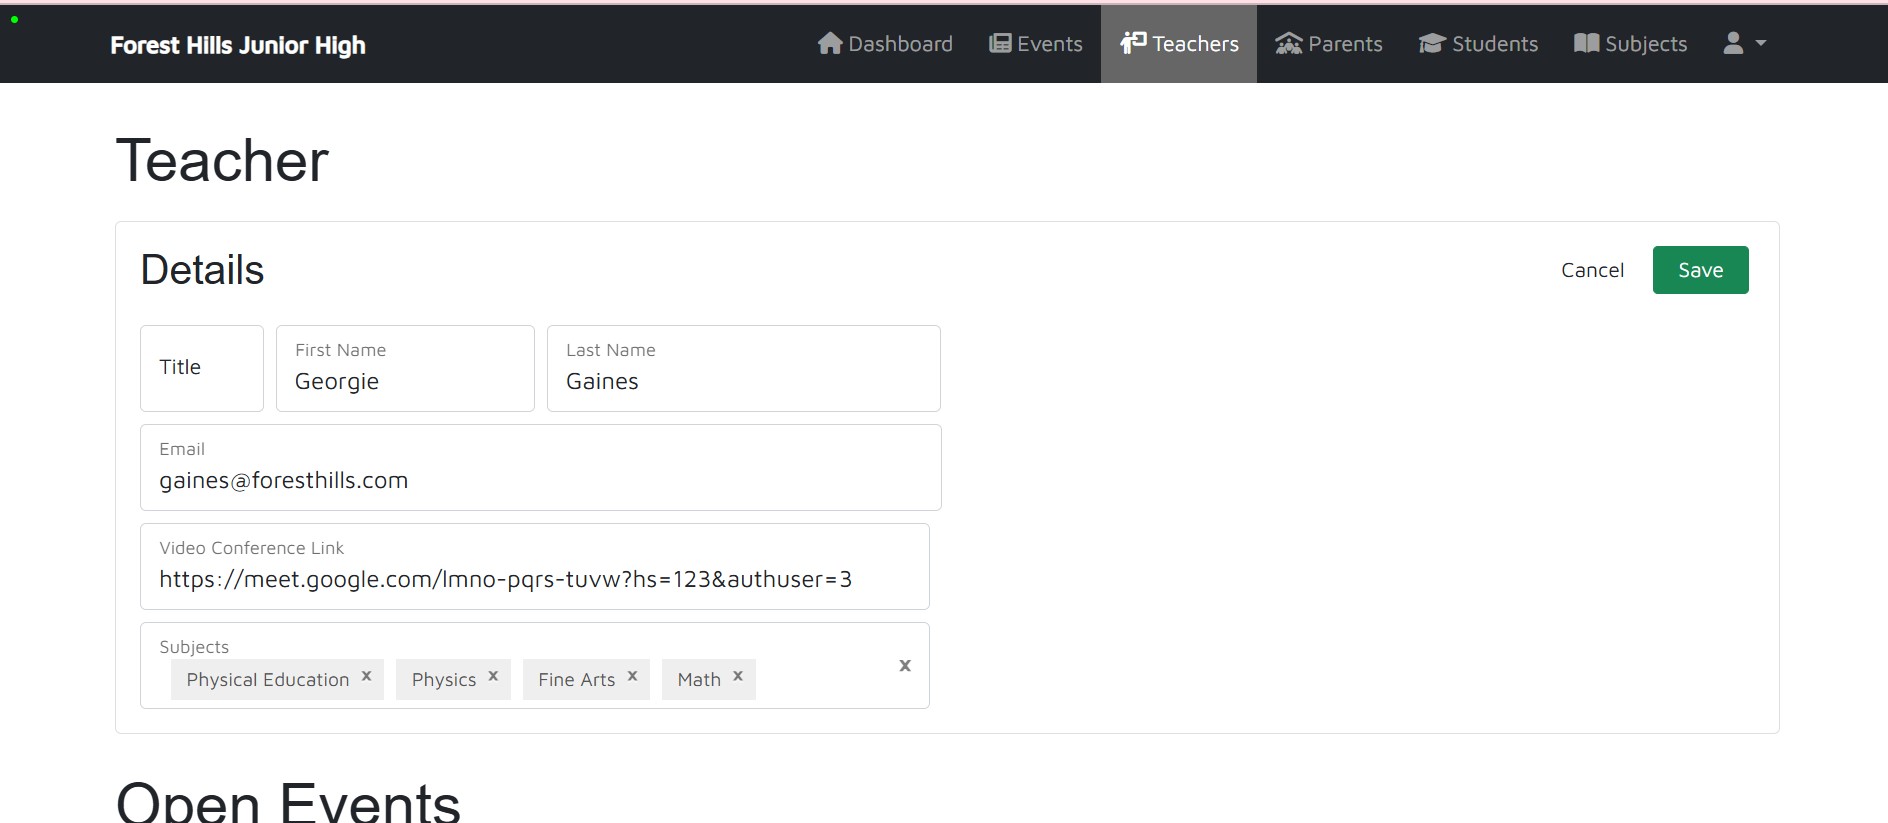
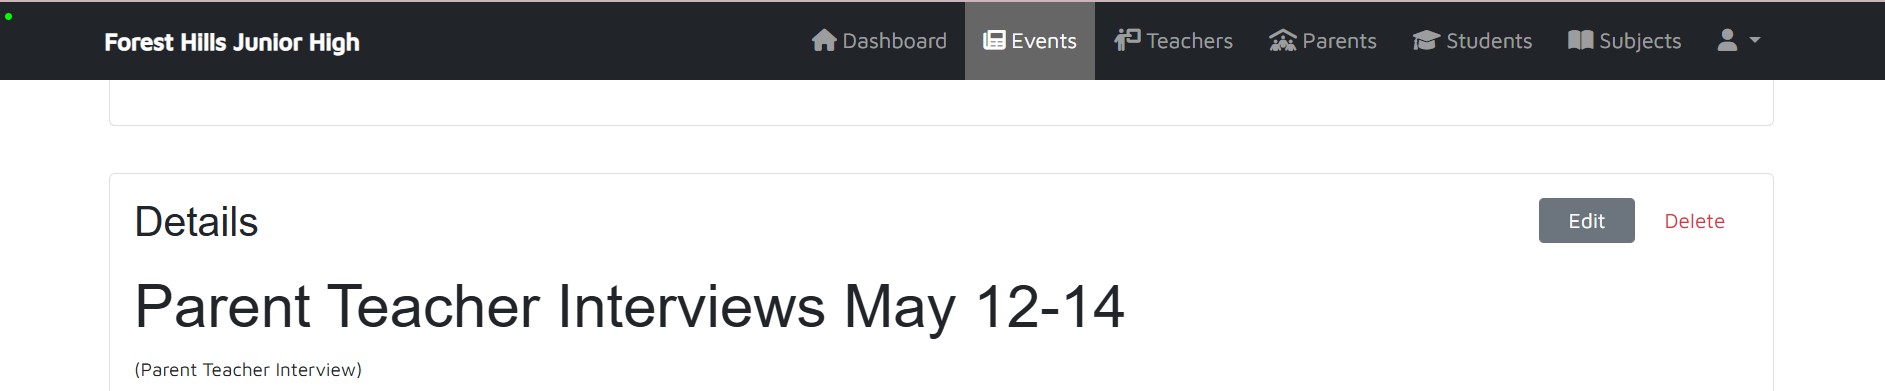
Step 8: To change the details of the event, click on “Edit“
Step 9: Edit Event: Click “Edit” to modify event details. You can change::
Event Name
Email Subject Title (for parent emails)
Email Welcome Message (for specific parents)
Booking Page Message (displayed on the booking page)
Email Confirmation Message (sent to parents after booking
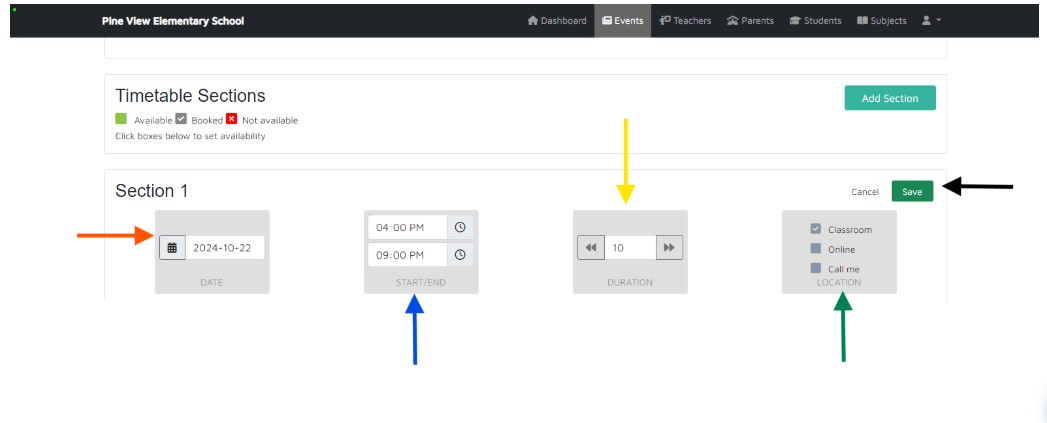
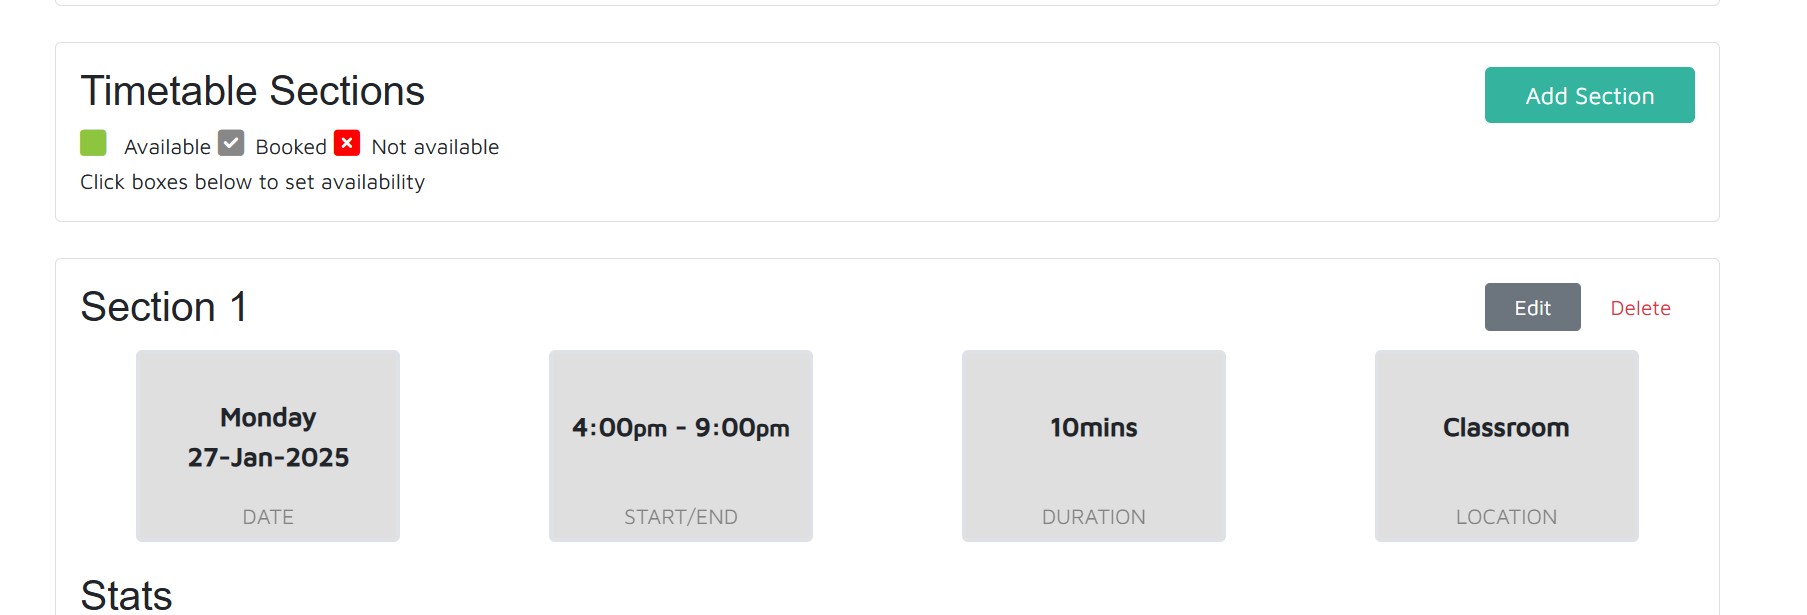
Step 10: Edit Event Timing: Click “Edit” within the event details to adjust the date, start/end times, meeting duration, and location. Click “Save” when finished.
Step 11: Add Multiple Sessions/Days: If your event spans multiple days, click “Add Section” to create additional sessions.
Instructions with Pictures
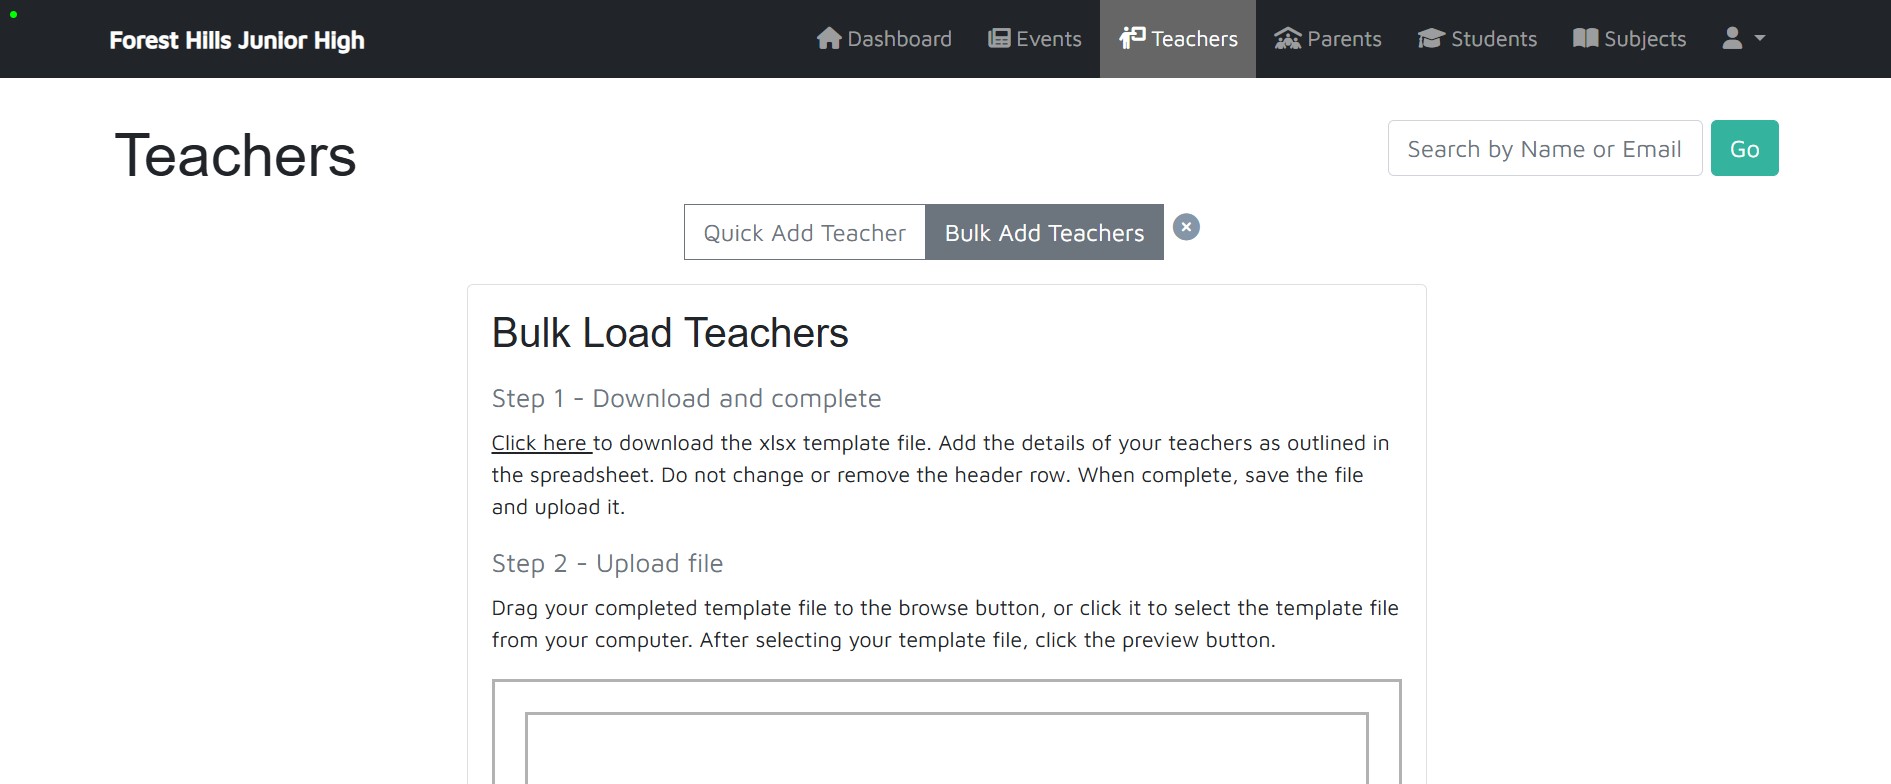
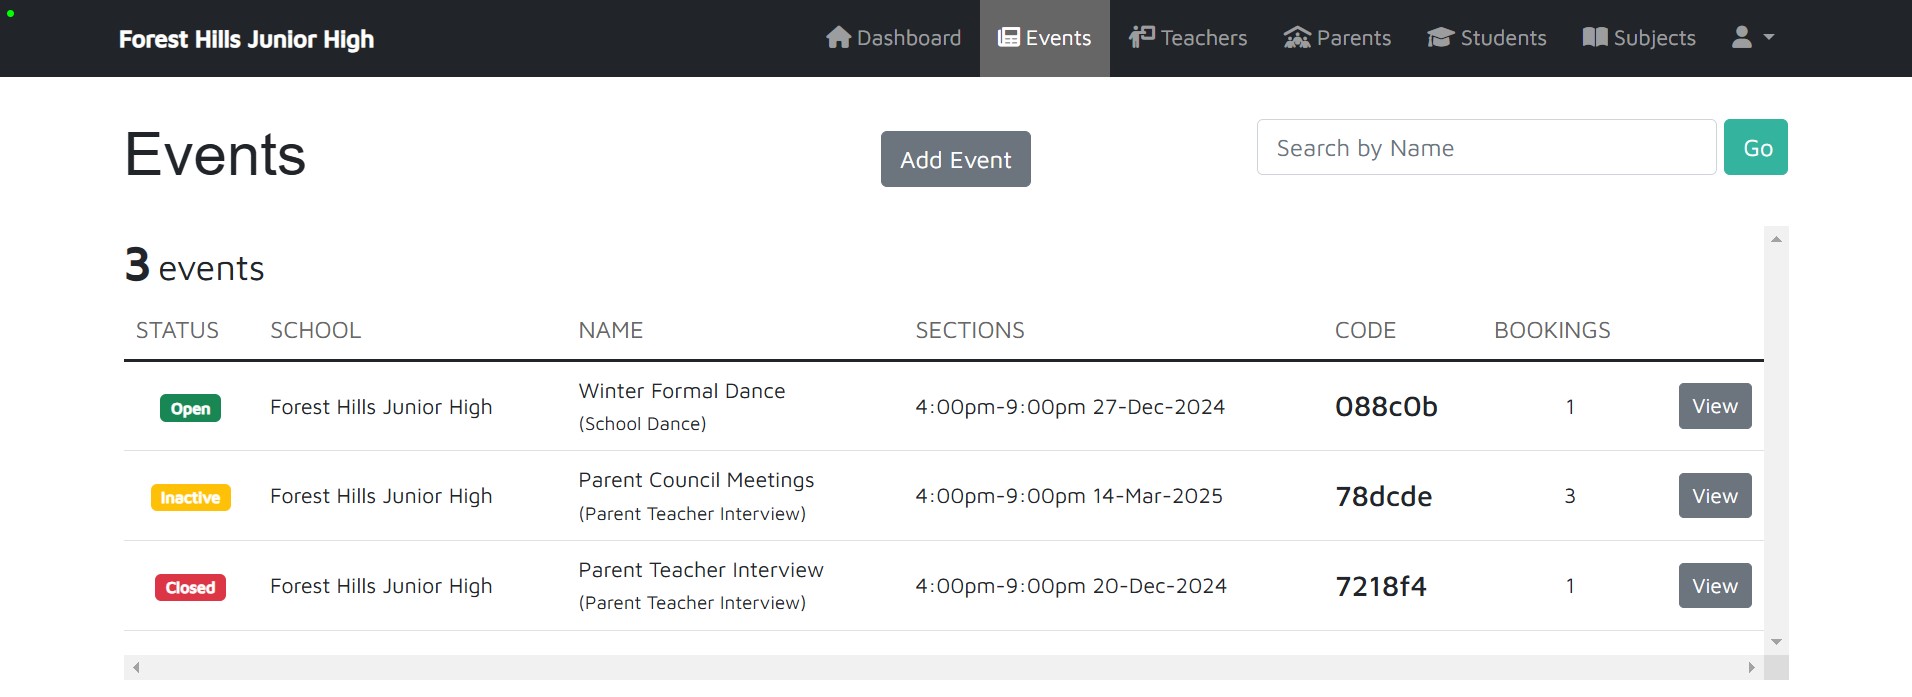
Step 1: Navigate to Events: On your Dashboard, click the “Events” tab.

Step 2:Add New Event: Click the “Add Event” button (located in the center of the screen). Note: Events can have three statuses: Open (parents can book), Inactive (not yet available for booking), and Closed (event time has passed).
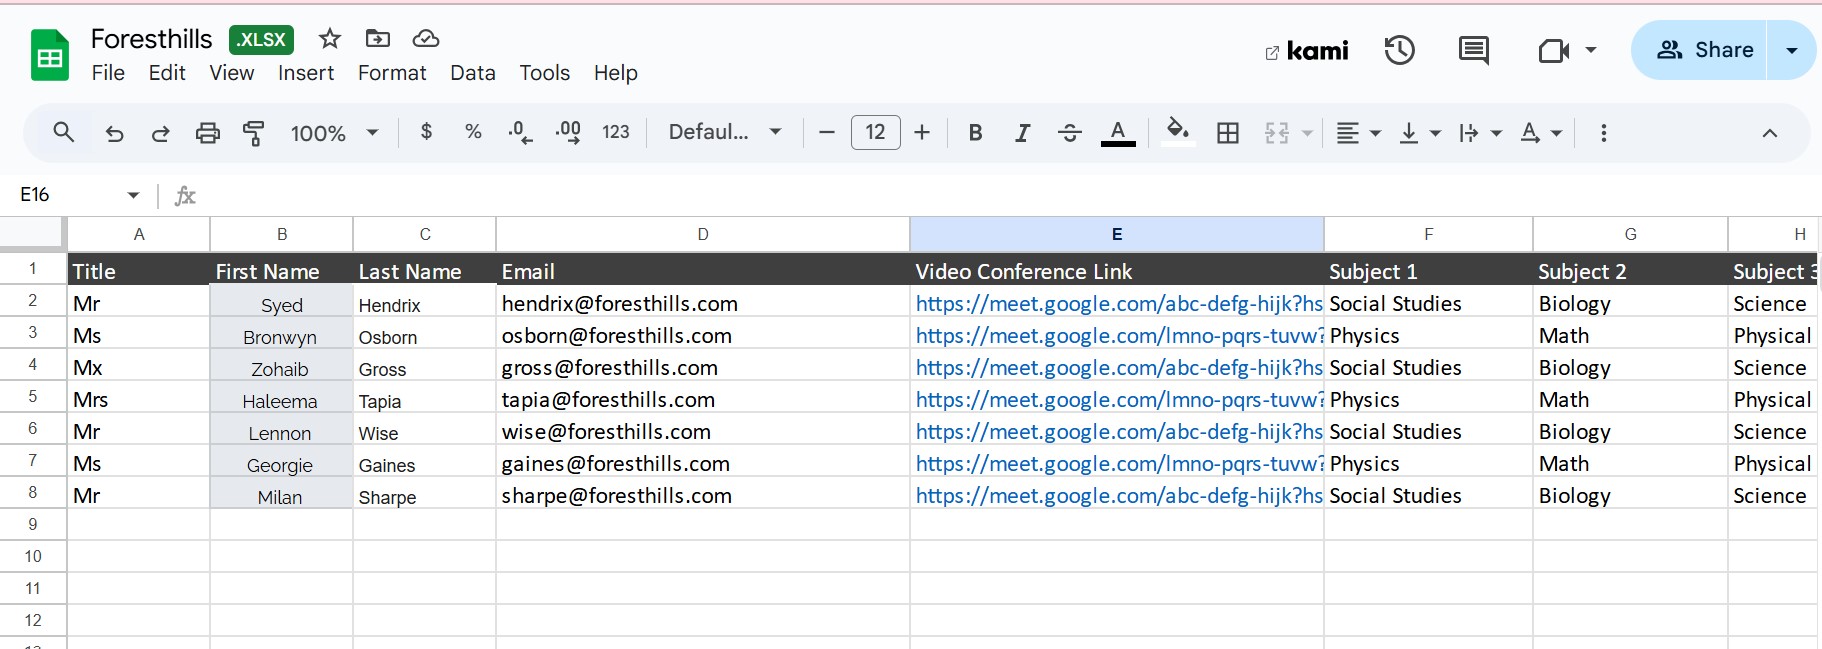
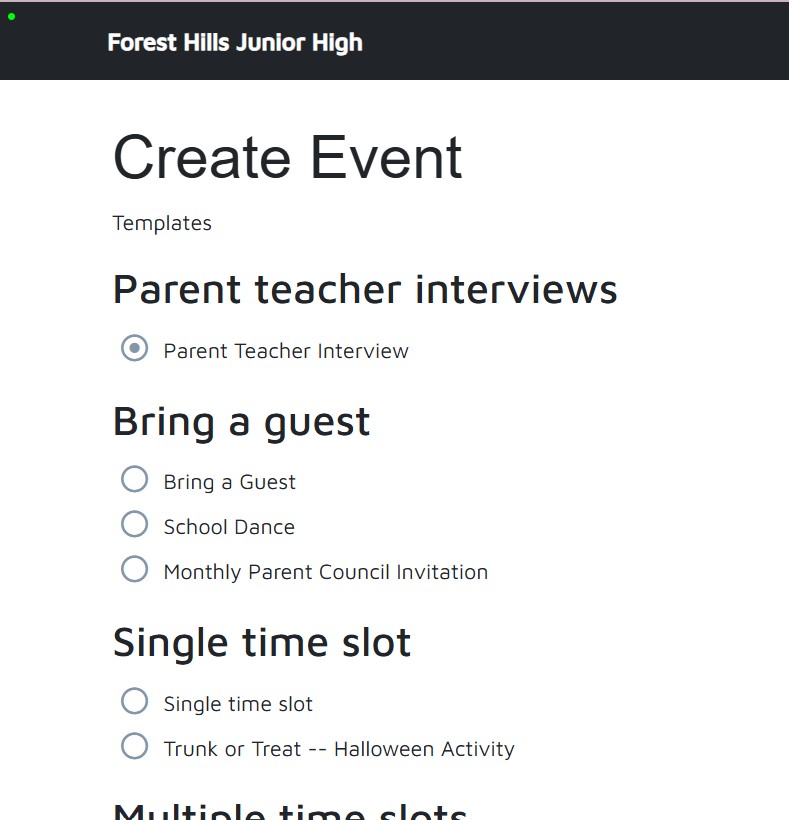
Step 3: Choose Event Type: Select the desired event type from the templates on the left.
Step 4: Name and Create: Enter a name for your event and click “Create.”
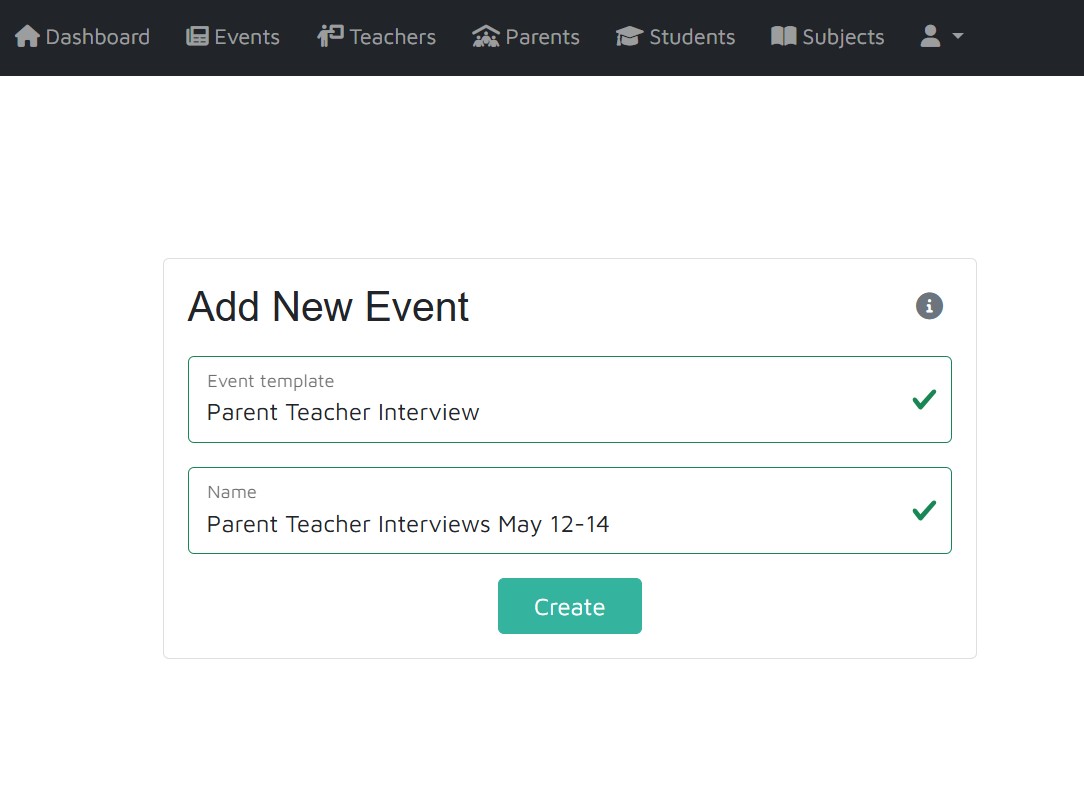
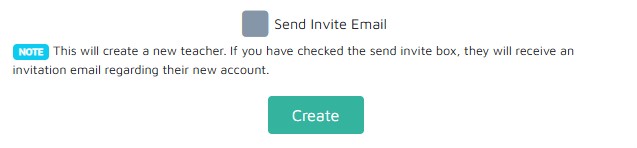
Step 5: You will be prompted to Create the event.

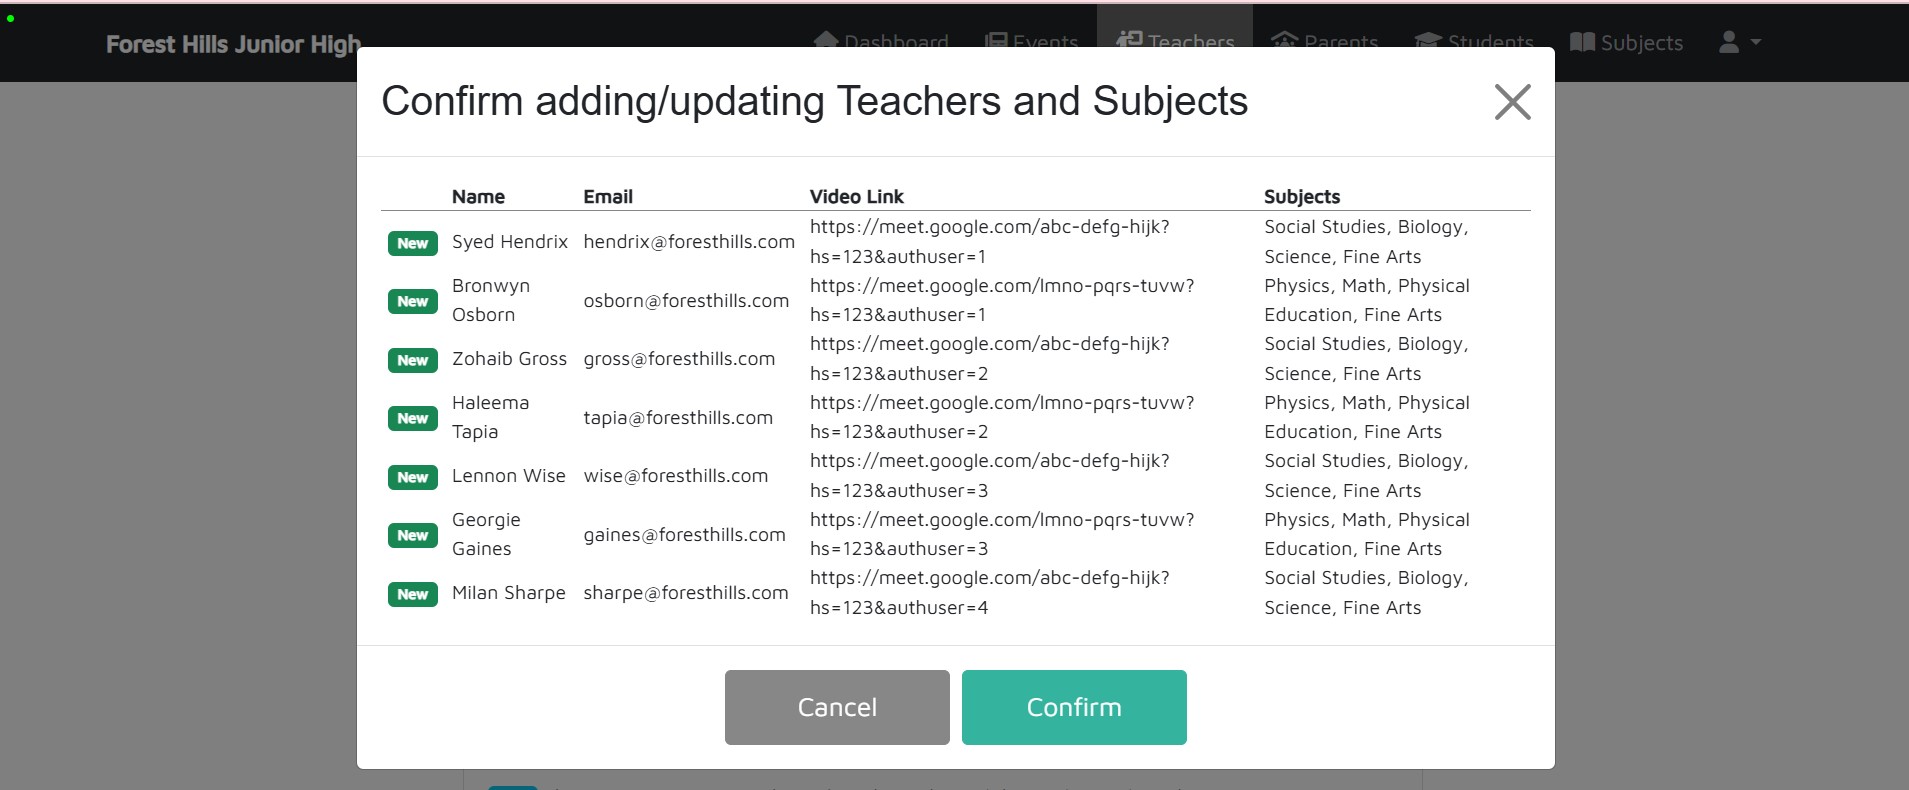
Step 6: Event Details & Sharing: Your event is now created! You’ll see details to share with parents, including a QR code, URL link, and booking code.
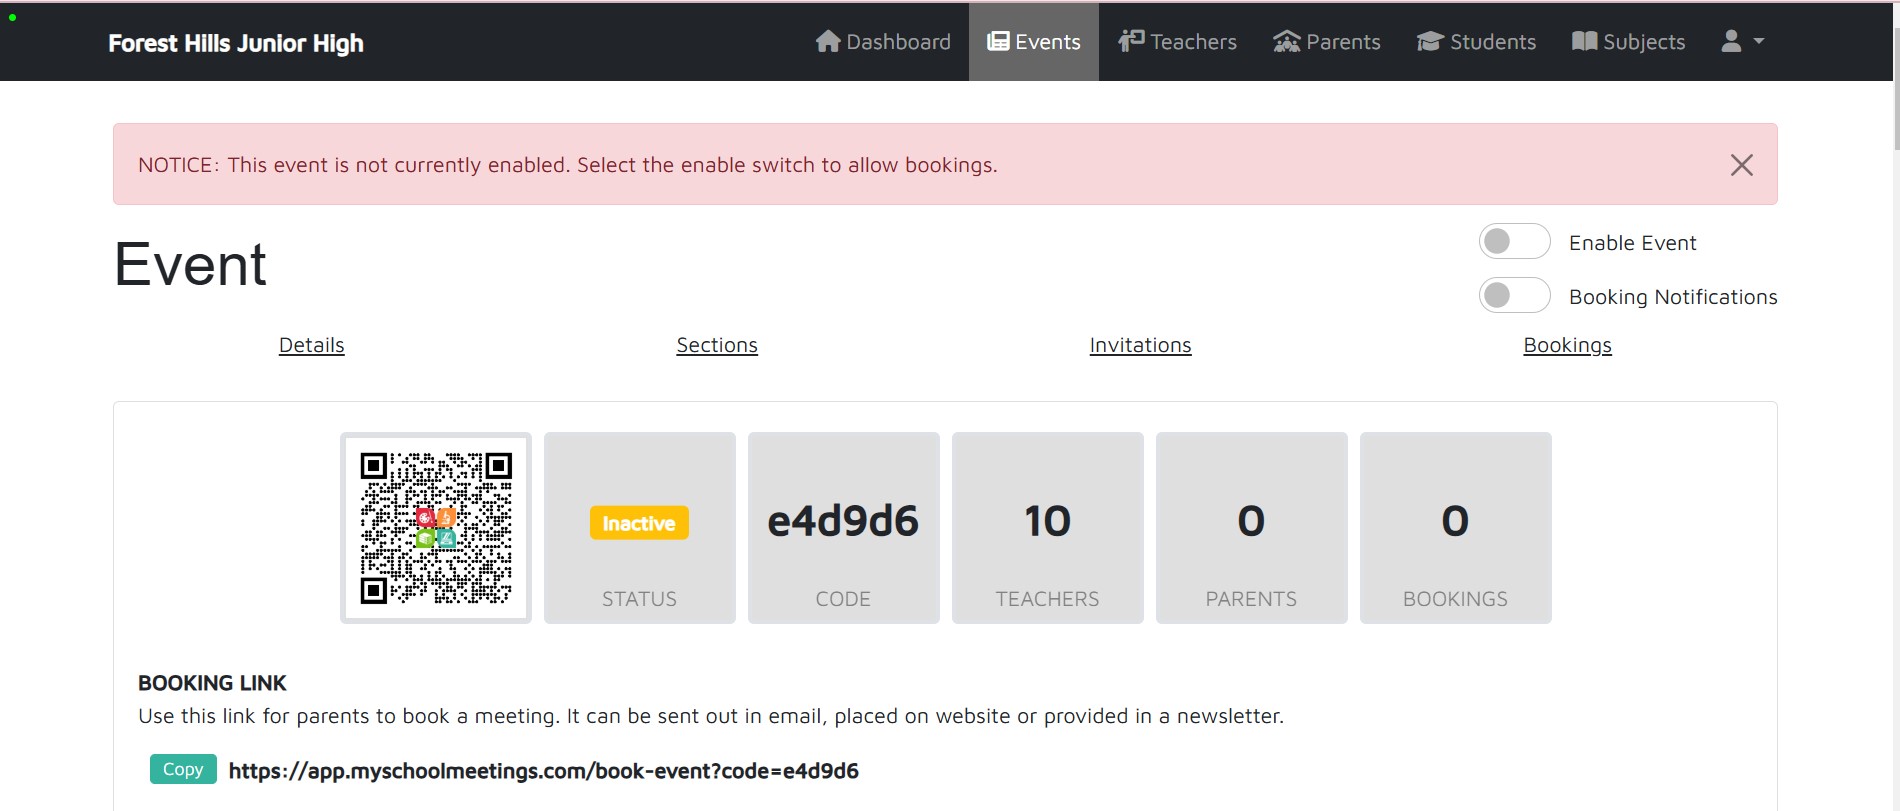
Step 7: Activate Your Event: To make the event bookable for parents, toggle the switch in the upper right-hand corner to “On.”

Step 8: To change the details of the event click on “Edit“
Step 9: Edit Event: Click “Edit” to modify event details. You can change:
Event Name
Email Subject Title (for parent emails)
Email Welcome Message (for specific parents)
Booking Page Message (displayed on the booking page)
Email Confirmation Message (sent to parents after booking)
Step 10: Edit Event Timing: Click “Edit” within the event details to adjust the date, start/end times, meeting duration, and location. Click “Save” when finished.
Step 11: Add Multiple Sessions/Days: If your event spans multiple days, click “Add Section” to create additional sessions.